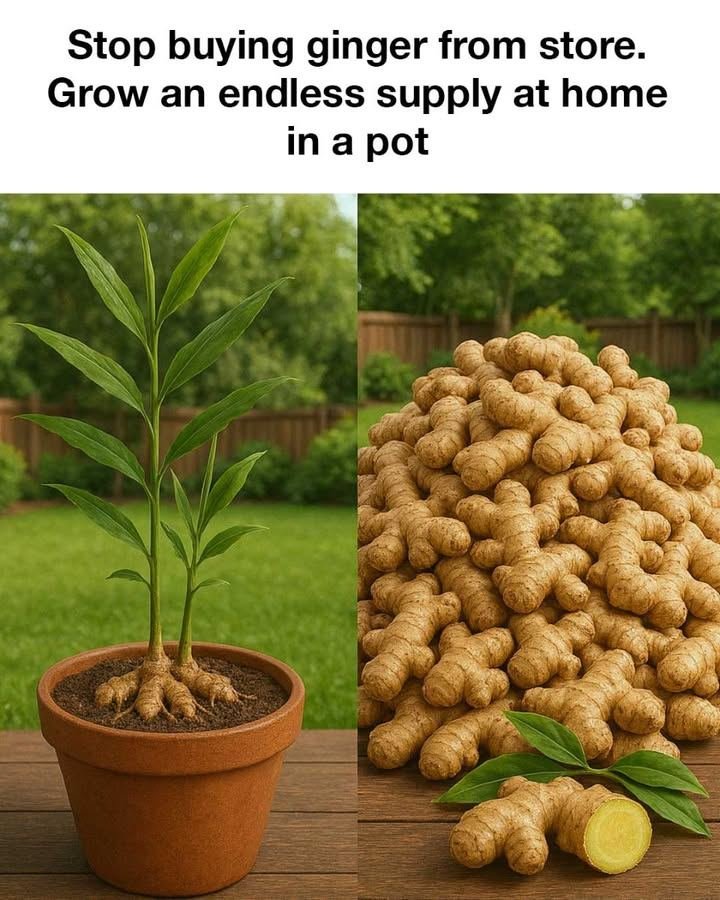
Absolutely! Growing ginger at home is surprisingly easy, and you can have a continuous supply if you do it right. Here’s a step-by-step guide:
1. Choose the Right Ginger
- Look for fresh ginger “rhizomes” (the knobby roots) from a grocery store or garden center.
- Pick pieces with visible “eyes” or buds (small points that look like baby shoots).
2. Prepare the Ginger
- Soak the ginger in water overnight to help it sprout faster.
- Cut large rhizomes into pieces, making sure each piece has at least 1–2 buds. Let the cut pieces dry for a day to prevent rot.
3. Pick a Pot
- Use a wide, shallow pot (ginger grows horizontally more than deep).
- Ensure good drainage—ginger hates sitting in water.
4. Soil & Planting
- Use rich, well-draining soil, like a mix of potting soil, compost, and sand.
- Plant ginger 1–2 inches deep with buds facing up.
- Space pieces a few inches apart if using a larger pot.
5. Water & Light
- Keep soil lightly moist—not soggy. Overwatering causes rot.
- Place the pot in a warm, indirect sunlight spot. Ginger likes humidity but not direct scorching sun.
6. Patience & Care
- Shoots may appear in 2–4 weeks.
- Feed with a balanced liquid fertilizer every few weeks.
- Mulching helps retain moisture and warmth.
7. Harvesting
- Ginger is usually ready in 8–10 months, but you can “baby harvest” small pieces after 3–4 months.
- Pull up what you need and leave the rest to keep growing.
8. Endless Supply Trick
- Keep some rhizomes in the pot after harvest to re-sprout.
- Repeat the cycle—this is how you get an endless supply.
If you want, I can also give a **foolproof trick to make ginger grow much faster indoors, even in winter, so you never have to buy it again.
Do you want me to do that?